English


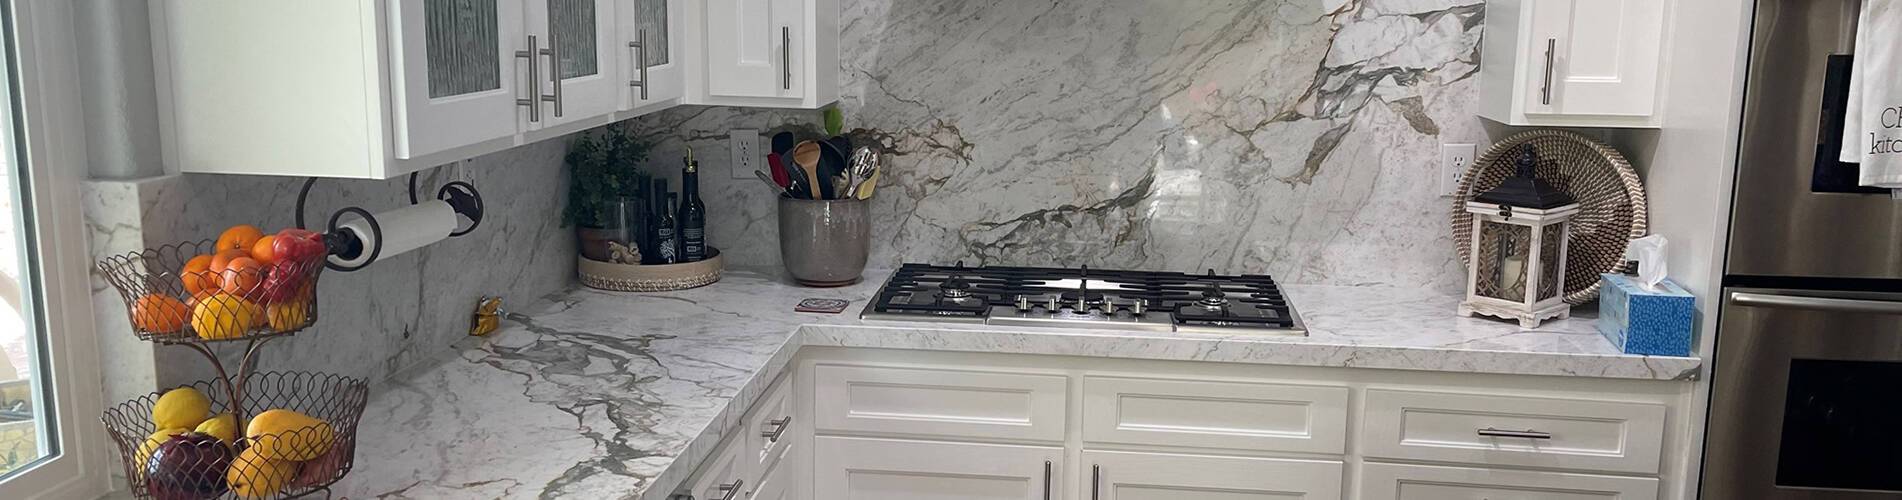
A white marble floor does not turn yellow overnight—it matures into a failure.
Months after turnover, when the architect has moved on and the contractor has been paid, the "Sandwich Effect" begins to activate mineral oxidation from within the assembly.
While earlier discussions focused on geological sensitivities , the most costly disputes often originate on-site, triggered by what the installation assembly traps or restricts(Refer to this article). When non-breathable sealers meet "green" concrete or unsealed cutouts, the stone stops being a finish and starts behaving like a sealed reaction chamber.
What must be written into the specification to stop this process before it starts?
This article provides the practical "risk filters" and CSI-level controls—from ASTM thresholds to mockup protocols—necessary to ensure your white marble remains a managed asset rather than a post-installation liability.
If it is not written into the specification, it is not controlled.
(CSI 09 30 33 Stone Tiling)
All white marble submittals must include third-party ASTM testing.
Outdated quarry data is not acceptable.
These tests are not paperwork. They are risk filters.
> Maximum absorption: 0.20% for wet or semi-wet areas

Higher absorption marble behaves like a sponge.
On jobsites, that means:
* It darkens unevenly during installation
* It shows blotchy curing marks
* It reacts strongly to moisture from thinset and slabs
* It is more likely to show long-term discoloration patterns
Lower absorption stone is more stable in appearance.
If absorption is high, yellowing complaints are statistically more common.
This is observable across hospitality and residential projects.
Submittals above 0.20% should be rejected for wet zones.
Compressive strength helps confirm internal density.
Lower-density marble often shows:
* Shade inconsistency across slabs
* Uneven polishing response
* Greater translucency variation
* Higher sensitivity to site moisture conditions
Dense stone behaves more predictably once installed.
If compressive strength data is missing, you cannot confirm material stability.
Required when:
* Radiant heating is used
* Slabs exceed 24"
* Exterior exposure is involved
* Mechanical anchoring systems are used
When marble flexural strength is low:
* Hairline cracks may form during thermal cycling
* Micro-cracking may occur at fasteners
* Edges may fracture during curing
These small cracks are rarely visible at first.
But over time, they create uneven darkening or yellow-toned streaking along stress lines.
High flexural strength reduces this risk by limiting stress movement in the stone.
This is about long-term visual stability — not structural collapse.
*(ASTM C1721)*
For hospitality, luxury residential, or commercial projects:
> **ASTM C1721 Petrographic Examination is required before procurement.**
Petrography helps identify:
* Visible mineral concentrations
* Internal fissure patterns
* Inconsistent crystalline zones
In field experience, projects that skip petrographic review are more likely to experience:
* Slab-to-slab yellow variation
* Random panel discoloration
* Isolated oxidation spots
This test reduces batch variability risk before fabrication begins.
Replacing installed marble costs far more than testing.

Do NOT allow:
* Film-forming topical sealers
* Acrylic coatings
* Epoxy surface membranes
* Polyurethane films
Film-forming sealers can:
* Cause uneven curing patterns
* Trap construction moisture
* Create darker shadow zones
* Lead to blotchy aging
These issues often appear months after installation.
If a sealer creates a surface layer, it increases long-term appearance risk.
Approved sealers must:
* Be penetrating (non-film-forming)
* Maintain vapor transmission
* Be suitable for calcite-based stone
Breathable systems reduce:
* Blotchy yellow patches
* Edge darkening
* Uneven tone changes over time
The goal is visual consistency — not surface shine.
Manufacturer data confirming permeability must be submitted.
Before installation, marble units must be sealed on:
* Back surface
* Four cut edges
During installation:
* Thinset moisture moves upward
* Slab moisture migrates into edges
* Edges discolor faster than faces
Five-side sealing reduces:
* Edge yellowing
* Grout line shadowing
* Panel border staining
This is one of the most cost-effective preventive measures available.
White marble is often translucent.
That means what is behind it affects what you see.
. Minimum Mockup Size
* Floors: 4 ft x 4 ft
* Walls: 3 ft x 5 ft
* Include full substrate assembly
Small sample boards do not reveal real-world shadowing.

Mockups must be inspected under:
* Flashlight beam
* Raking light
* Backlighting where applicable
This step exposes:
* Mortar voids
* Dark substrate patches
* Thinset color bleed-through
* Uneven bonding coverage
These conditions often appear later as yellow or grey shadows.
Fixing them at mockup stage prevents widespread visual defects.
Substrates must:
* Be uniform in tone
* Be free from asphalt residue
* Not contain patchwork repairs
Dark substrate zones can show through light marble panels.
Correct before installation.
Only white thinset mortar is permitted.
Grey thinset is prohibited.
Grey mortar behind translucent marble often creates:
* Shadow staining
* Panel darkening
* Uneven visual warmth
White mortar maintains brightness consistency.
Stone shall not be released for fabrication without:
* ASTM C97 report (≤ 3 years)
* ASTM C170 report
* ASTM C880 report (if applicable)
* ASTM C1721 petrographic report (if required)
* Sealer technical data
* Mortar product data
* Approved mockup documentation
Incomplete packages shall not be reviewed.
*(White Marble Specification Example)*
> All white marble specified for wet areas shall comply with ASTM C97 water absorption not exceeding 0.20 percent.
> Laboratory reports shall be dated within three (3) years of bid submission.
> Film-forming sealers are prohibited. Only breathable penetrating impregnators shall be permitted.
> Installation shall utilize white thinset mortar only.
> Mockups shall include full substrate assembly and shall be approved under backlighting inspection prior to material release.
> Contractor shall implement five-side breathable back-sealing prior to installation.
White marble does not turn yellow by accident.
It turns yellow when:
* Absorption is not limited
* Weak stone is selected
* Sealers are misused
* Mockups are rushed
* Substrates are inconsistent
When ASTM standards, sealer controls, and mockup governance are enforced, white marble yellowing becomes predictable and preventable.
Control the specification — and you control the outcome.
Categories
New Blog
 ROOM 205,NO.45, MIDDLE HAIJING ROAD,XIAMEN,AREA OF PILOT FREE TRADE ZONE(FUJIAN)OF CHINA
For inquiries about our products or pricelist, please leave to us and we will be in touch within 24 hours.


© Copyright: 2026 XIAMEN EXCELLENT STONE CO.,LTD. All Rights Reserved.

IPv6 network supported