English


Does white marble turn yellow? In real installations, the answer is yes—but the change is rarely sudden or random. When white marble turns yellow, the stone almost always gives early clues—where the color appears, when it develops, and how it spreads. These patterns matter because they often point to the real cause long before anyone starts cleaning, polishing, or blaming products.
This article focuses on what yellowing looks like in the real world, based on field observations, installer feedback, and stone restoration diagnostics. Chemical explanations and repair methods are covered in later articles. Here, the goal is simpler: recognize the warning signs early and understand what they mean—especially in the context of natural stone aging versus installation-related issues.
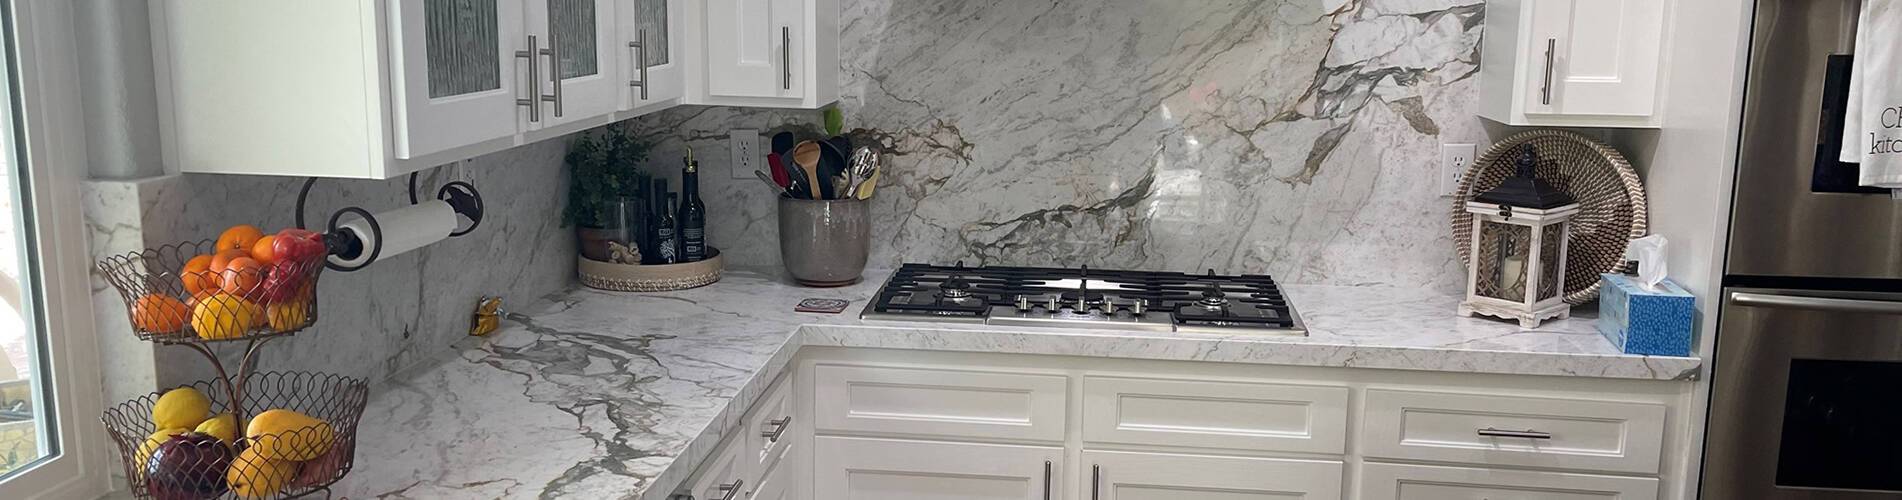
In field reports and restoration case reviews, yellowing almost never appears evenly across an entire slab. Instead, it shows up in specific, repeatable locations.
The most common early zones include:
Seams between slabs
Areas around sinks and faucets
Edges near dishwashers or cabinets
Perimeters where the stone meets walls
These areas share one thing in common: they are stress points. They are more exposed to moisture, heat, movement, or materials below the stone. Because of this, they often reveal problems first.
Expert Case Study: The "Assembly Failure" in White Marble
Based on the Hueston/Lyons(Building Science Expert) discussion, we can categorize the "stress" into three specific field observations:
Hydraulic Stress (The "Sponge" Effect): Discoloration often appears first near edges and cutouts (sinks/drains). The experts explain that when waterproofing is breached at a "stress point" (like a faucet hole), the stone acts as a wick. It pulls moisture from the saturated setting bed below. The yellowing is the visual "signal" of the stone trying to dry out from the bottom up.
Chemical Stress (The Mortar Interface): The discussion highlights that seams and grout lines are the first to yellow because they are the "breathing points" of the installation. If an improper adhesive or "wet" plywood is used below the stone, the chemical contaminants migrate toward these openings. The problem reveals itself at the seam first because that is where the internal pressure of the moisture vapor is highest.
Thermal/Evaporative Stress: Discoloration is often localized to areas with high airflow or heat (like near vents or appliances). These areas experience faster evaporation, which pulls "dirty" water through the stone more quickly than in "quiet" areas of the slab. This accelerates the oxidation of iron minerals, turning the stone yellow in those specific zones.
From a diagnostic standpoint, this uneven appearance is important. It tells us that the yellowing is not simply the result of natural stone aging occurring uniformly over time, but rather localized conditions interacting with the marble.
This pattern shows up repeatedly in field case discussions among professional restorers and stone inspectors, including the expert dialogue you shared earlier, where yellowing was first noticed at seams and cutouts rather than across the full surface.
Seams are natural weak points. They allow:
More moisture movement
More contact with adhesives or fillers
Slight differences in stone thickness and backing
When yellowing appears along seams, it often suggests that something is moving into the stone from below or from the joint itself, rather than coming from surface use alone.
Around sinks, water exposure is frequent and hard to avoid. Even when spills are wiped up, moisture can still migrate:
Through small gaps
Along plumbing penetrations
Into the stone from underneath
This is why yellowing near sinks is one of the earliest and most common warning signs, especially in kitchens and bathrooms.

One of the most reliable diagnostic tools is time. How soon yellowing appears often tells more than how it looks.
Based on forensic stone analysis and field reports from professional restorers, yellowing tends to fall into predictable time windows. Practitioners often use informal timing rules to guide diagnosis before any invasive testing is done.
This table reflects real-world practice, not theory. It comes from repeated restoration cases where timing was the strongest early clue.

When marble begins to yellow shortly after installation, it usually points to immediate chemical reactions. These reactions often start below the surface and move upward. Because the source is close and active, the discoloration may appear quickly and intensify fast.
In many of these cases, restorers report that surface cleaning has little effect. The stone itself has already changed.
Yellowing that develops slowly is more often linked to cumulative environmental degradation, commonly described as natural stone aging. This includes long-term exposure to light, heat, moisture, or aging materials beneath the stone. The change is gradual, which is why it often surprises owners who believed the marble was “fine” for years.
This difference in timing is one of the clearest forensic signatures used in stone diagnostics.
Understanding where and when yellowing appears helps avoid common mistakes.
Without this context:
Surface cleaners are blamed too quickly
Stone is polished repeatedly with little improvement
Responsibility disputes arise between suppliers and installers
With it:
The investigation focuses on the right layer of the system
Expectations are managed early
Costly and ineffective treatments are avoided
As discussed in the expert field dialogue , many failed restorations happen not because the stone was misunderstood—but because the early clues were ignored.
This article establishes a critical first step: learning how to read yellowing as evidence, not as a surface defect. By understanding where discoloration appears and when it develops, you can already rule out many incorrect assumptions and avoid costly missteps. But observation alone is not the end of the process—it is the beginning.
In the next three articles, we continue this investigation by answering the next logical question: why white marble is especially prone to yellowing in the first place. Each article examines the same problem from a different angle, building on the patterns and timing you’ve just learned to recognize.
The next article focuses on the material and geological behavior of white marble itself—why certain marbles are more optically sensitive, how mineral content and factory treatments influence discoloration, and why marble behaves very differently from quartz over time.
From there, we turn to the installation system and environment. This article examines how moisture, substrates, adhesives, and jobsite conditions interact with marble, and why many yellowing issues originate below the surface rather than on it.
Finally, the series concludes with a diagnostic decision framework. This last article addresses one of the most common questions in the industry: when yellow marble can be improved, when it cannot, and why misdiagnosis often leads to repeated—and ineffective—interventions.
Taken together, these four articles form a single, structured explanation. If you work with white marble as a builder, distributor, or specifier, following the full series will help you evaluate yellowing issues more accurately, set realistic expectations earlier, and make better material decisions before problems become permanent.
Categories
New Blog
 ROOM 205,NO.45, MIDDLE HAIJING ROAD,XIAMEN,AREA OF PILOT FREE TRADE ZONE(FUJIAN)OF CHINA
For inquiries about our products or pricelist, please leave to us and we will be in touch within 24 hours.


© Copyright: 2026 XIAMEN EXCELLENT STONE CO.,LTD. All Rights Reserved.

IPv6 network supported